Example Foundation Repair Projects in Burien

Below are five foundation jobs in Burien, SeaTac and Normandy Park. For each one you get the house, the request, the scope of work, the process and a cost estimate.

None of the examples is a past job, a client or an address. They illustrate the work we plan and quote.

Bolts and plates for an old Craftsman bungalow

Example project
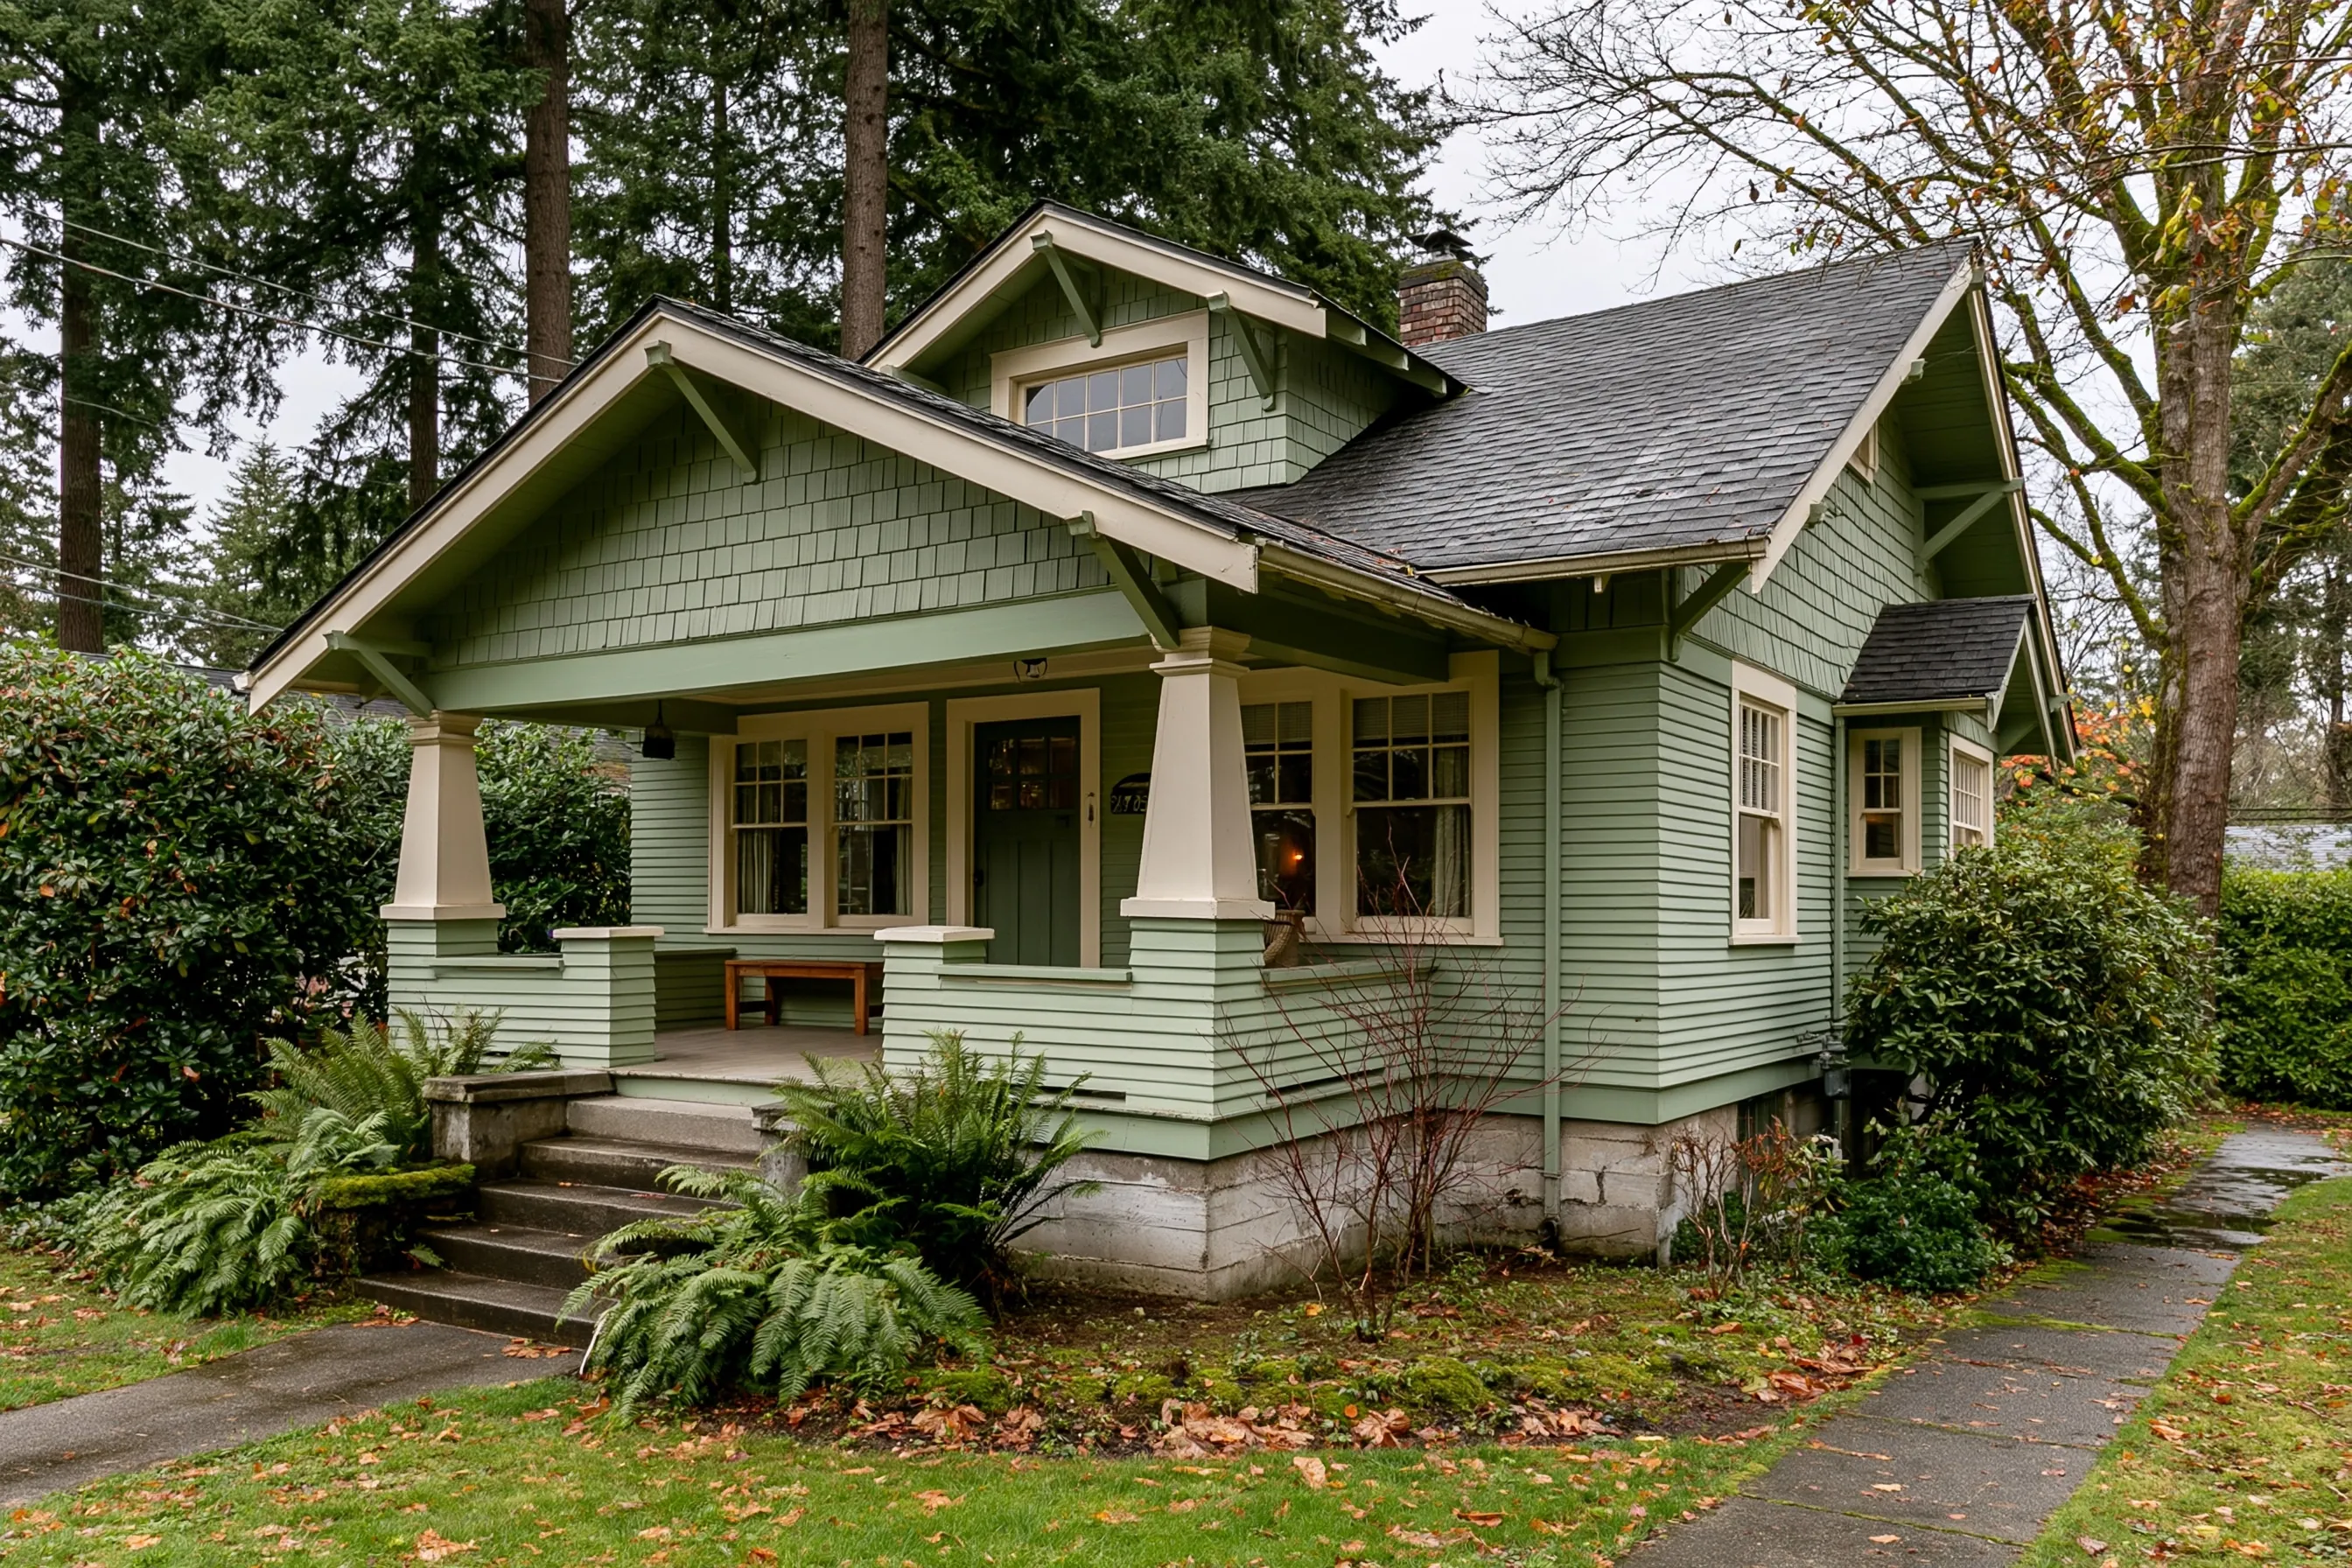
Sage-green Craftsman bungalow with a wide front porch, tapered cream columns, shingled gables, concrete steps, a concrete stem wall at the base, ferns and tall firs
Home
1920s Craftsman bungalow in SeaTac with a concrete stem wall
Original request
Tie the house, about 1,200 sq ft, to its foundation before the next big earthquake
Outside
A wide porch on tapered columns and a concrete wall at its base
Work
Anchor bolts and plates along the sill, and bracing on short walls as the plan calls for
Not included
Permit costs and any engineer’s plan
Cost
$7,800

Scope of work

Anchor bolts and plates along the sill, connector plates where the framing needs them, and plywood on short walls as the plan calls for. Permit costs and any engineer’s plan are not part of this cost.

Project overview

In this example, the owners of a 1920s Craftsman bungalow in SeaTac want the house tied to its foundation. It stands on a concrete stem wall under the porch and walls, and it has not been bolted.

The plan is worked out from the crawlspace. It reduces the risk of the house moving off its foundation and does not make it earthquake-proof, and it says where an engineer or a permit may come into the work.

The goal

The goal is an old bungalow tied to its stem wall, with a scope that says what the work does and does not do.

Process

  1. Before work The crawlspace is entered, the sill is probed for sound wood and the plan is written.
  2. Bolting Holes go through the sill into the stem wall, then the bolts and plates are set.
  3. Bracing Short walls are covered with plywood in the pattern the plan shows.
  4. Check The work is checked against the plan and photographed.

Planning right

  • Tell us whether the crawlspace has been opened or used for storage.
  • Ask for the sill to be probed first, because bolts need sound wood.
  • Ask whether a permit applies before the crawlspace work is booked.
  • Ask what a retrofit does and does not do for your house.
Get a free quoteMore about seismic bolting

One failed post replaced in a low crawlspace

Example project

Home
House in Burien with a low crawlspace
Original request
A single spot in the hallway floor that gives underfoot
Under the floor
One post that has soaked up water at its base
Access
A low crawlspace, so most of the work is done on hands and knees
Not included
Floor finishes
Cost
$650

Scope of work

A temporary jack, one new post on a new pad, a fastener at the top and a check of the posts on either side. Floor finishes are not part of this cost.

Project overview

In this example, the owners of a house in Burien feel one spot in the hallway floor give underfoot. Below it, in a low crawlspace, one post has soaked up water at its base.

Only one post has failed, so the plan replaces one. The posts either side are looked at on the same visit, and the low space is the main thing that affects the cost.

The goal

The goal is a single wet post swapped out and the posts beside it checked, with the cause of the wet noted.

Process

  1. Before work The crawlspace is entered and the posts around the soft spot are probed.
  2. Support A temporary jack takes the load off the post.
  3. Replace A new post is set on a new pad and fastened at the top.
  4. Close up The jack comes out and the area is cleaned.

Planning right

  • Tell us how low the crawlspace is, in inches, if you know.
  • Ask for a photo of each post nearby.
  • Ask why the base of the post got wet.
  • Keep the hatch clear.

Get a free quoteMore about crawlspace posts and beams

Piers along the side of a house where a doorway has cracked

Example project

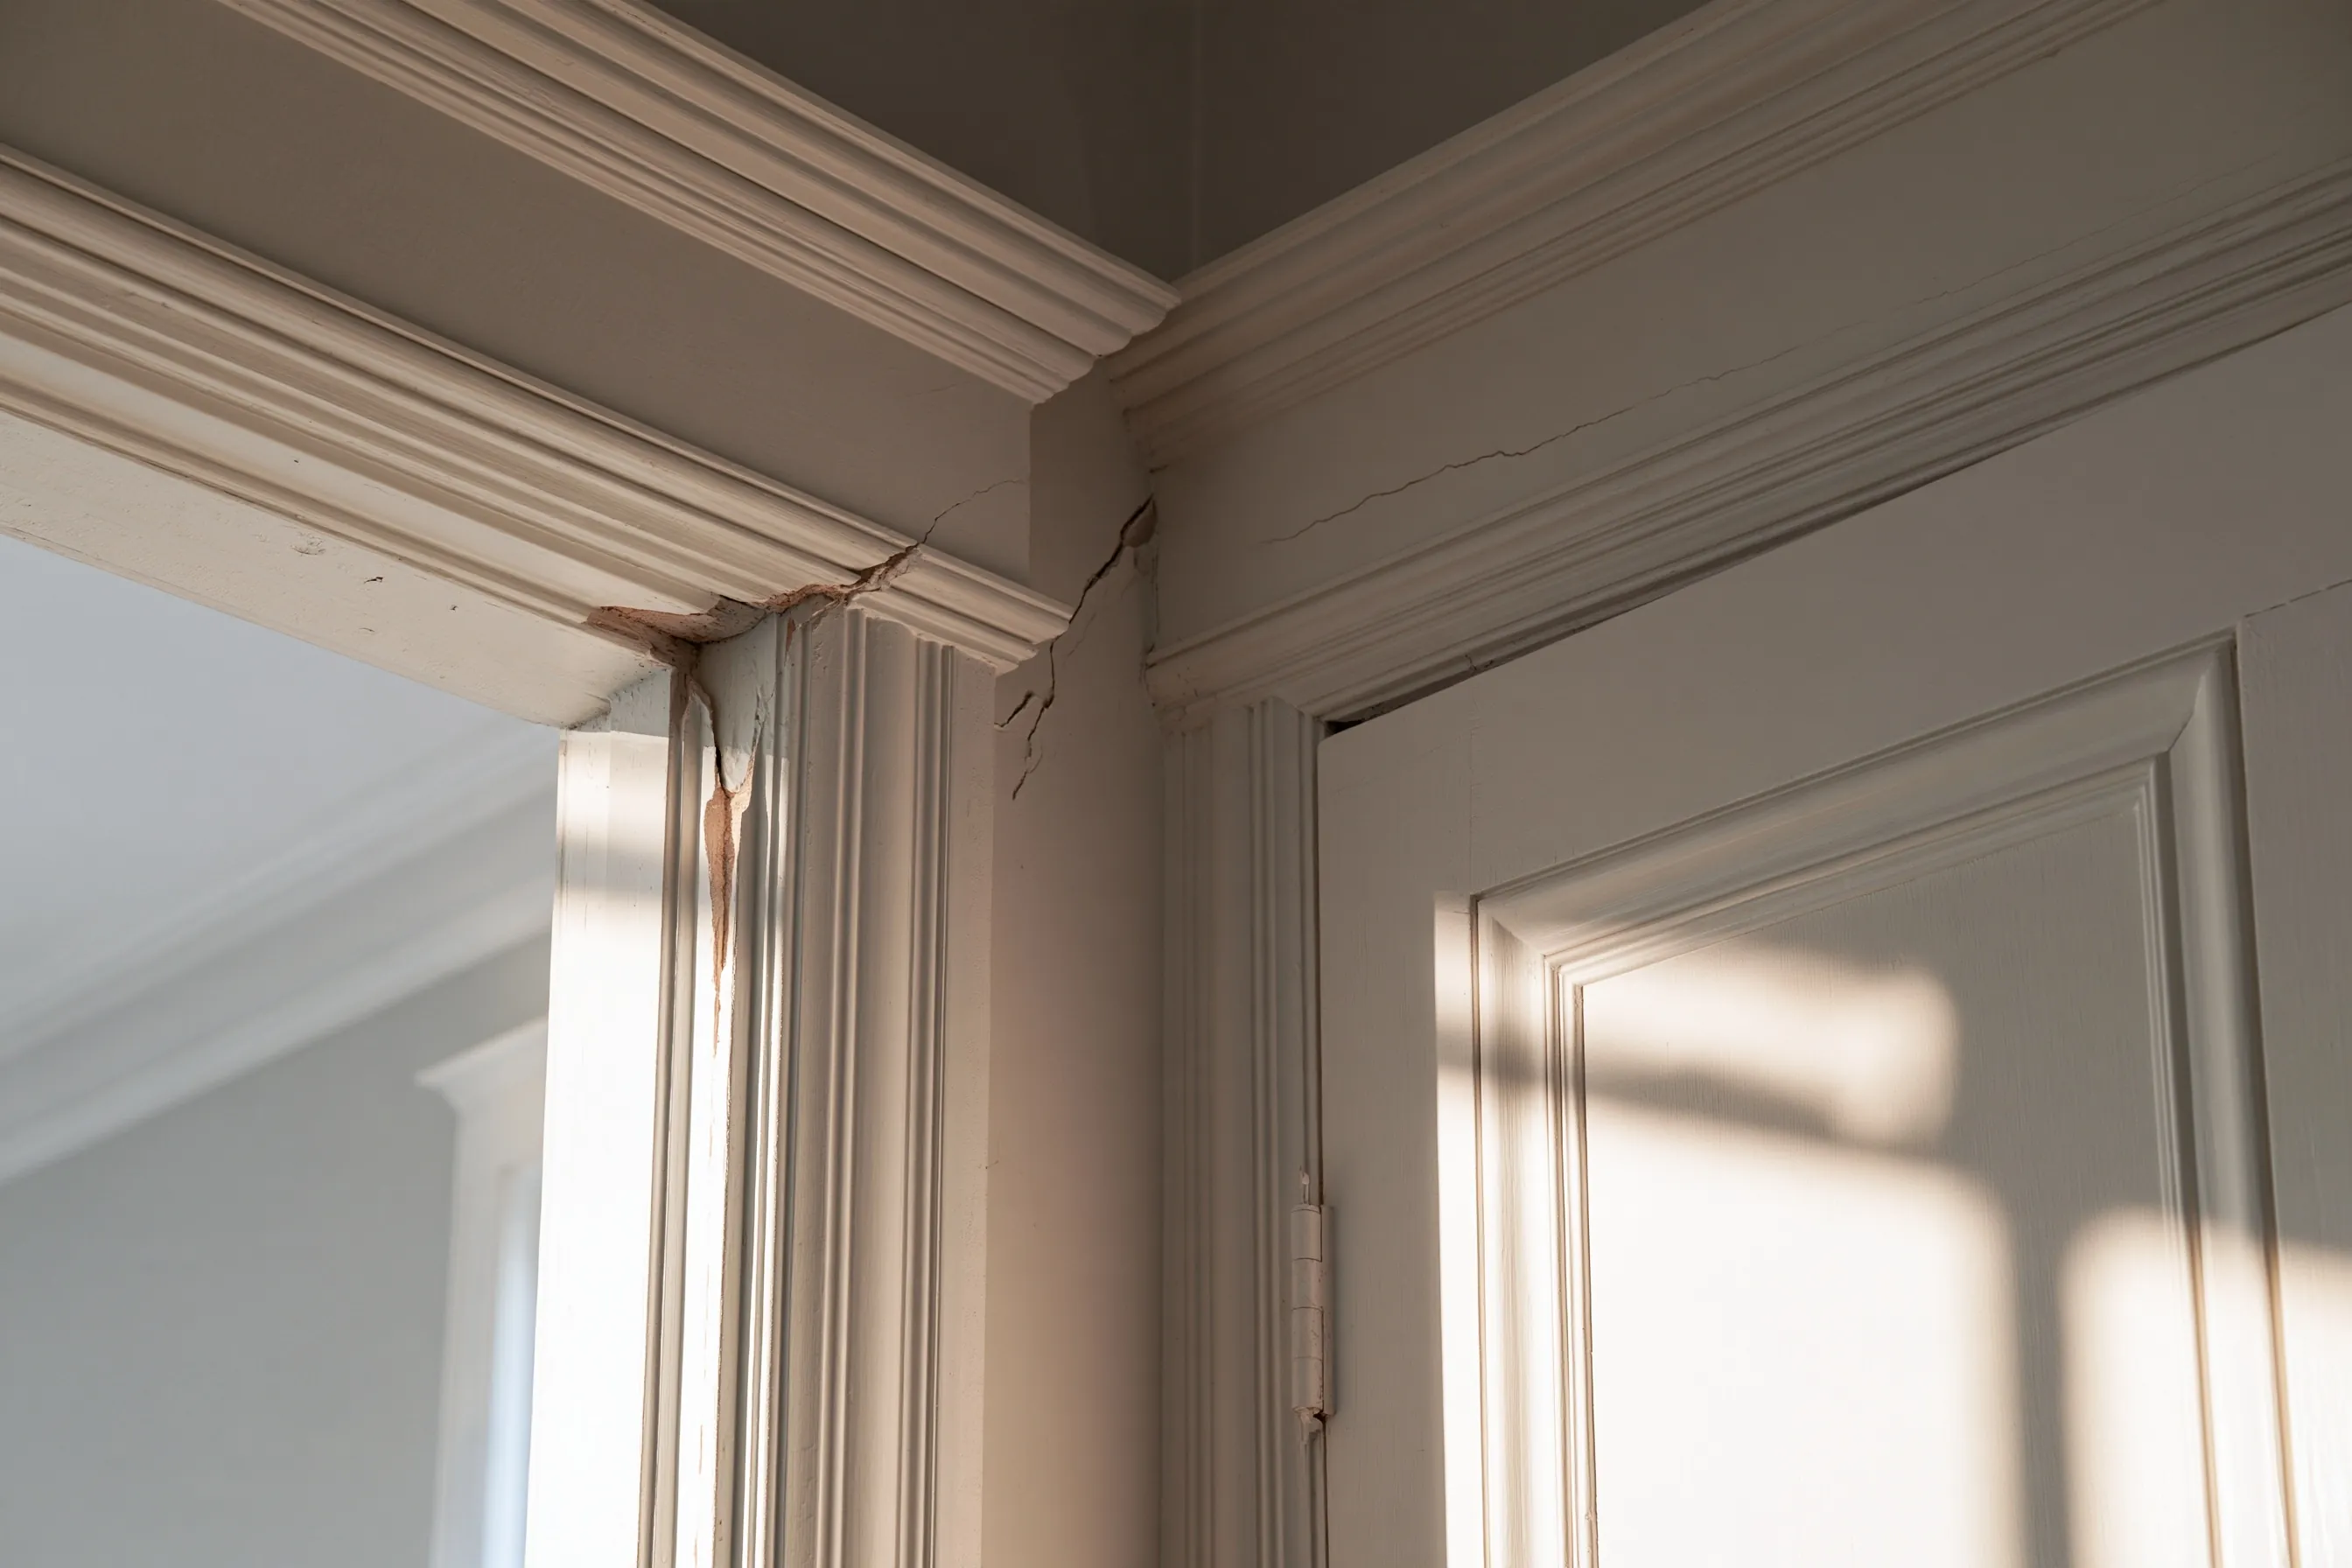
Corner of a doorway with painted trim, a crack running from the door head trim up into the wall, a fine crack along the trim above and a thin dark gap at the top of the door
Home
House in Burien with painted trim around its doorways
Original request
A doorway whose trim has cracked at the corner, with a gap above the door
What shows
A crack from the trim corner into the wall and a fine crack along the trim
Work outside
Six to eight piers along that side of the house
Not included
Interior repairs, paint and any engineer’s plan
Cost
$15,500

Scope of work

Digging along that side of the foundation, six to eight steel piers to the depth the plan calls for, backfill, and a check of the doors on that side. Interior patching, paint, an engineer’s plan and permit costs are not part of this cost.

Project overview

In this example, the owners of a house in Burien find the trim above one doorway cracking at its corner, with a crack running up into the wall, with a thin dark gap at the top of the door. Other doors on the same side have begun to stick.

Because the signs run along one side, the plan covers the whole side. Six to eight piers are set along it, from a plan that says where an engineer or a permit may come into it.

The goal

The goal is a side with a cracked doorway and sticking doors held on piers set to the plan, and each doorway measured again.

Process

  1. Before work The doorways and floors along that side are measured end to end, then the plan is written and the permit question settled.
  2. Dig The side is dug out in sections beside the footing.
  3. Piers The piers are set one by one to the depth the plan shows.
  4. Check The strip is backfilled and the doors on that side are tried again.

Planning right

  • List every door and window on that side that sticks or has a crack.
  • Mark the end of each crack with the date.
  • Ask for the pier count and depth to be written in the scope.
  • Ask where an engineer comes in, if the plan needs one.

Get a free quoteMore about settlement and piers

Three narrow cracks sealed in one poured wall

Example project

Home
House in Normandy Park with a poured-concrete basement wall
Original request
Three narrow cracks that were painted over once and have come back
Cracks
Three, each about 3 to 8 feet long, none wider than a pencil line
Method
Sealed from inside with epoxy or polyurethane injection
Not included
Repainting
Cost
$2,400

Scope of work

Measuring and marking each crack, cleaning them, setting ports and injecting from the inside, and removing the ports. Repainting is not part of this cost.

Project overview

In this example, the owners of a house in Normandy Park have painted over three narrow cracks in a basement wall, and the lines have shown through again. None is wider than a pencil line.

The plan treats the three as one visit. Each crack is measured and marked first, and any that has moved is set aside for a closer look before sealing.

The goal

The goal is three narrow cracks sealed from the inside, each with its own marks so later movement shows.

Process

  1. Before work Each crack is measured, marked and photographed on the wall.
  2. Prepare The paint over each crack is ground back and ports are set.
  3. Inject Each crack is injected in turn from the bottom up.
  4. Finish The ports come off, and each crack is looked at again after the next wet spell.

Planning right

  • Say which cracks have come back after painting, and when.
  • Clear the wall of shelves so every crack can be reached.
  • Ask whether any of the three runs near a window or door.
  • Ask what is done if one of them has moved.

Get a free quoteMore about foundation crack repair

A footing drain along the garage side of a rambler

Example project

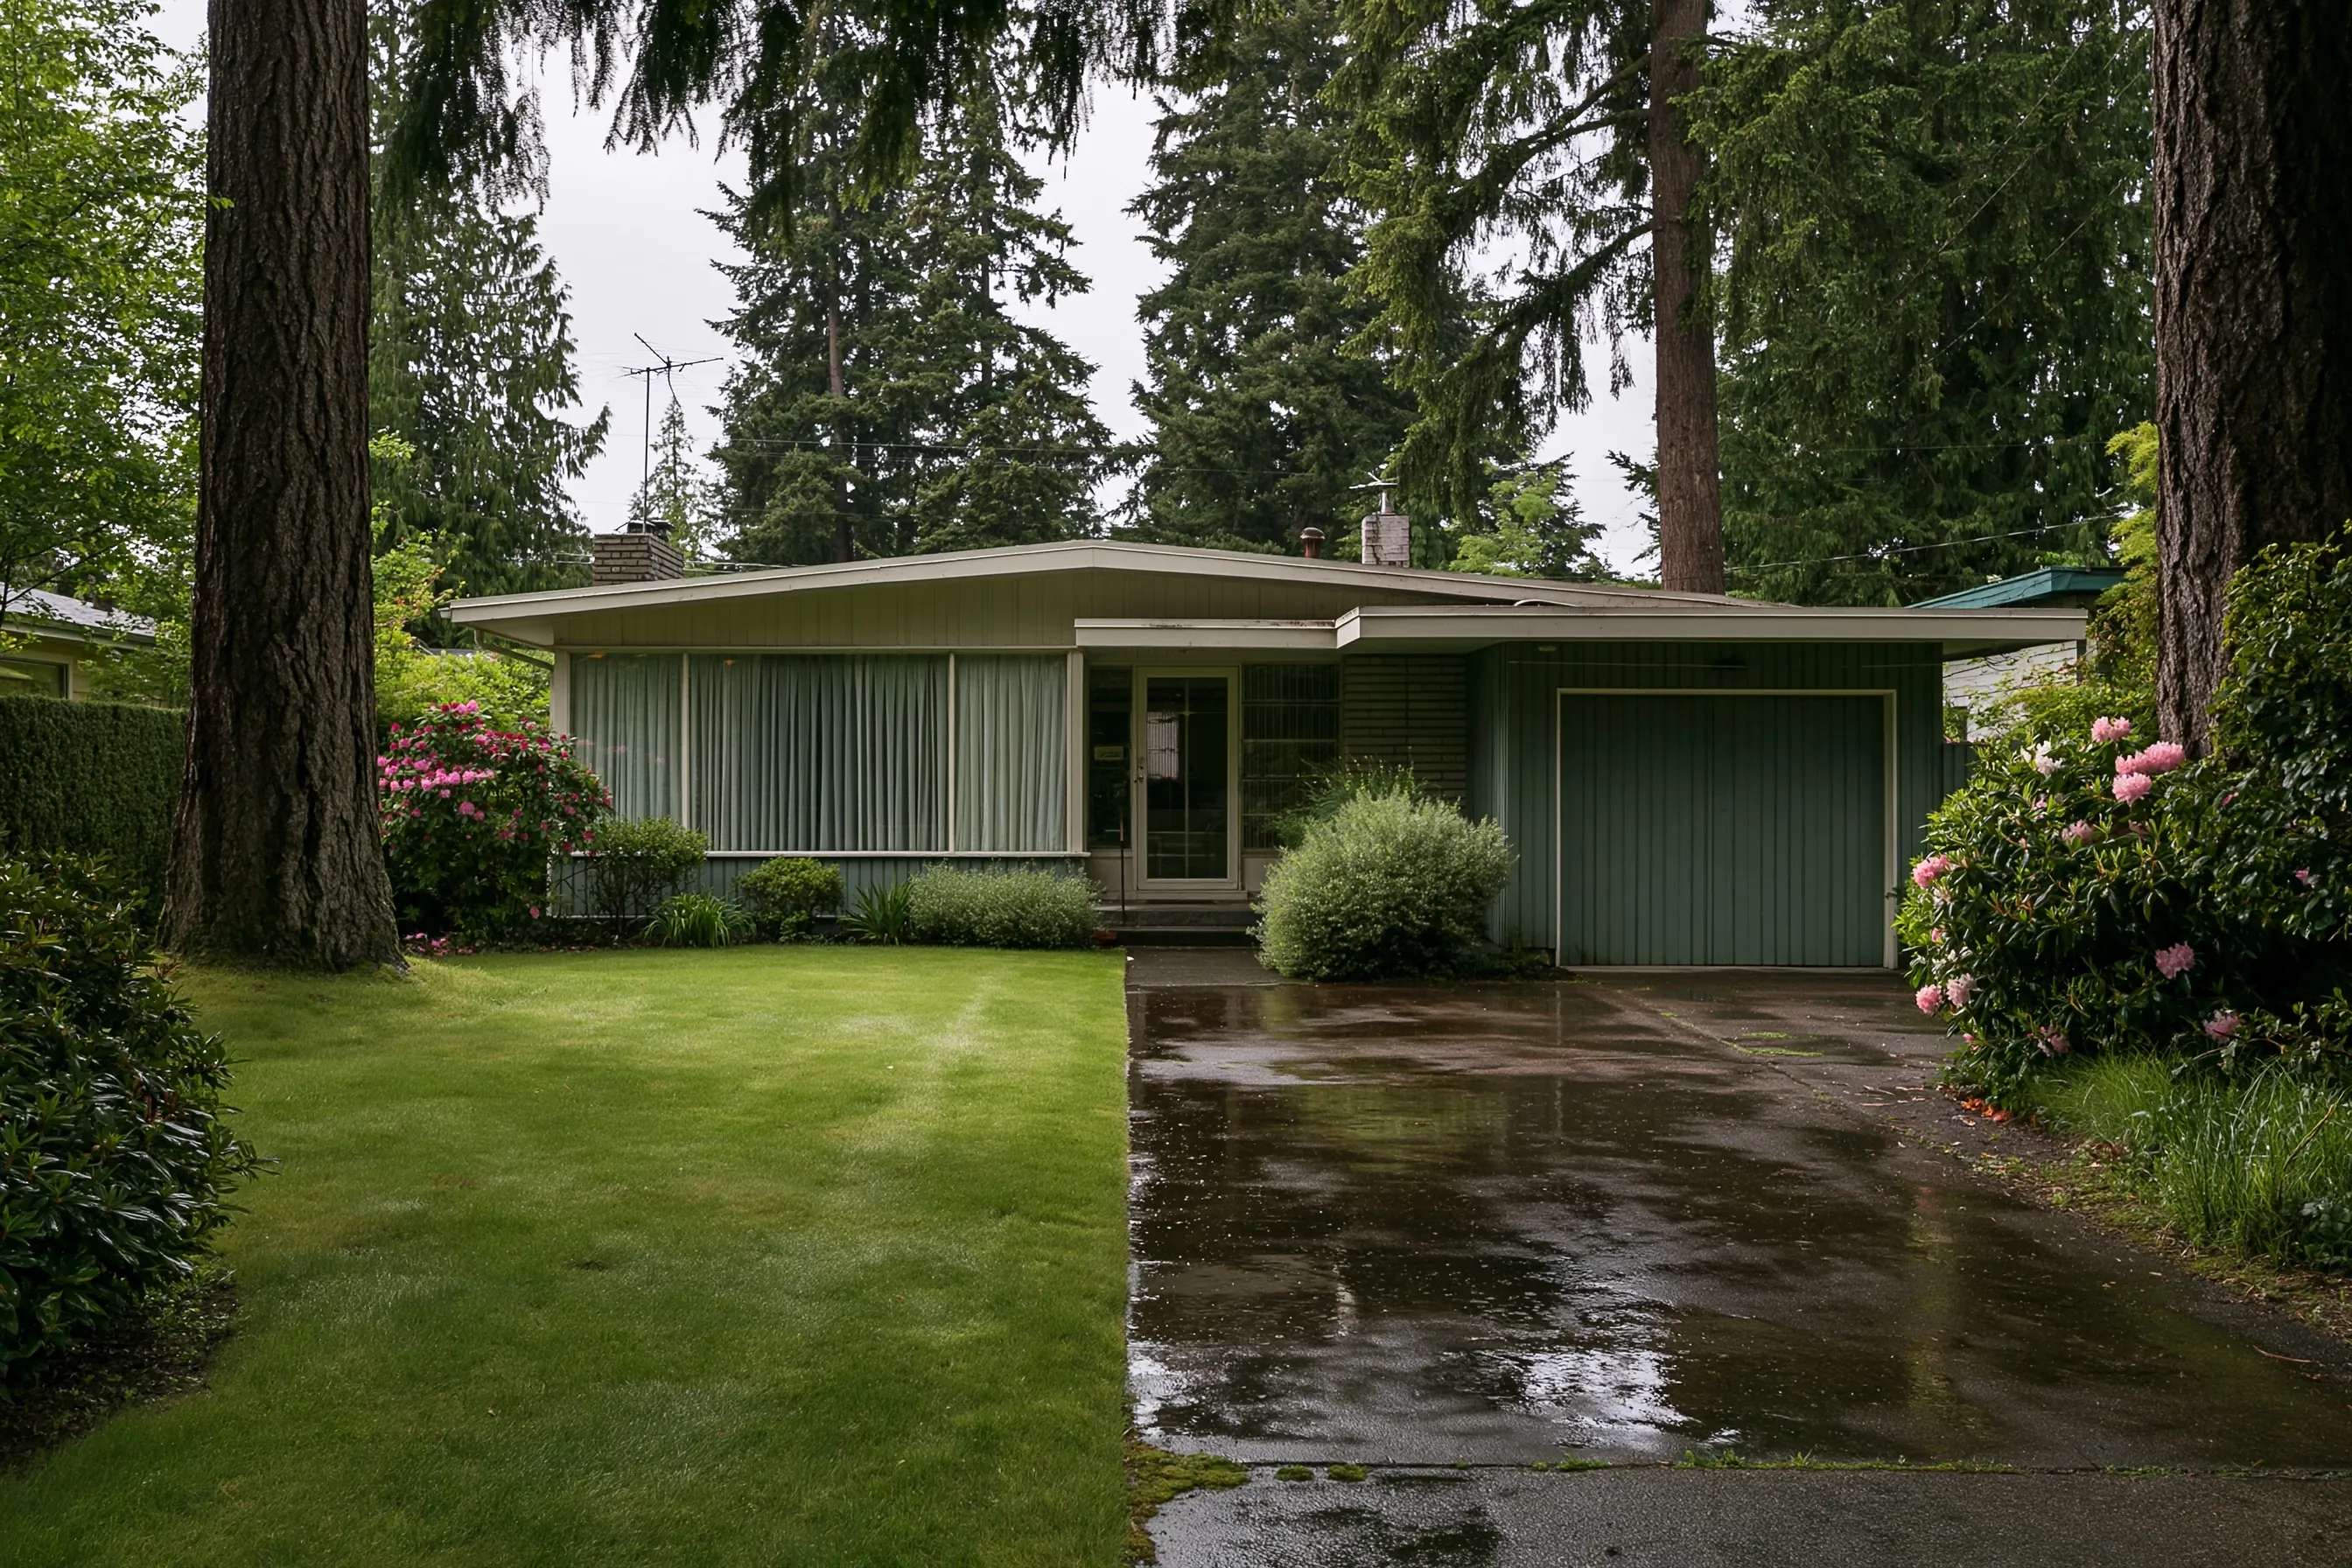
Front of a single-story house with a low roof, a long window with sheer curtains, a glass entry door, a closed green garage door, a wet driveway with puddles, a lawn, rhododendrons and tall firs
Home
Single-story rambler in SeaTac with an attached garage
Original request
Puddles on the driveway that run toward the garage wall
Site
A wet driveway, a mown lawn, rhododendrons and tall firs
Work
A footing drain along the garage side, run to a safe outlet
Not included
Driveway work and planting
Cost
$3,700

Scope of work

Digging about 30 ft along the garage side to the footing, drainage pipe set in clean gravel, a discharge to a safe outlet and backfill. Driveway work and planting are not part of this cost.

Project overview

In this example, the owners of a single-story rambler in SeaTac see puddles stand on the driveway after rain and run toward the garage wall. The lawn beside it is green and the firs behind it are tall.

The plan lays a drain along the garage side at the footing and sends it to a safe outlet. The driveway is looked at to see which way it falls, and the trench is cut beside it, not through it.

The goal

The goal is a drain along the garage side that gives driveway and roof water a path away from the house.

Process

  1. Before work The driveway and wall are walked in the rain if possible, and the outlet and route are chosen.
  2. Dig A trench is dug along the garage side beside the driveway edge.
  3. Drain A perforated pipe is laid in gravel with a fall to the outlet.
  4. Close up The trench is backfilled in layers and the run is tested.

Planning right

  • Watch which way the water runs on the driveway during a heavy rain.
  • Tell us if the garage floor is damp inside.
  • Ask where the outlet will be and how far from the house.
  • Keep cars and planters off the trench line.

Get a free quoteMore about foundation drainage

Request a free foundation repair quote

Send the address, say what you see and where, and add a photo if you have one. We'll get back to you soon to arrange a visit or with any questions we have. Estimates are free and there's no obligation.

Call (253) 352-3724

Call (253) 352-3724